As you work on your project, you will naturally create sprites, edit scripts, delete timelines, and whatever else is required as your project develops over time. These are all actions which you may want to keep track of and get back should something go wrong. This is the main reason to use Source Control - so that any accidents can be reverted - and we will quickly take you through the basic workflow from start so you understand how this works.
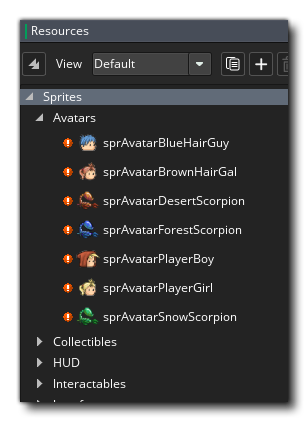
Starting from the beginning, create a new GML project and then activate source control through the main options. This gives us access to the Source Control menu on the top, so we'll immediately go and select Create Project Repository. If you look at the room resources, you can see that the default room has gained a red exclamation ![]() , meaning that it has been modified from it's last state. If we had other resources in the project, you'd see that they all have the same icon as shown in the image below:
, meaning that it has been modified from it's last state. If we had other resources in the project, you'd see that they all have the same icon as shown in the image below:
 We now have the option of either committing the blank project as it is, or getting it to a base state. For now, we'll do our first commit so click Source Control > Commit Changes. We'll now get a new window opened which is split into three areas:
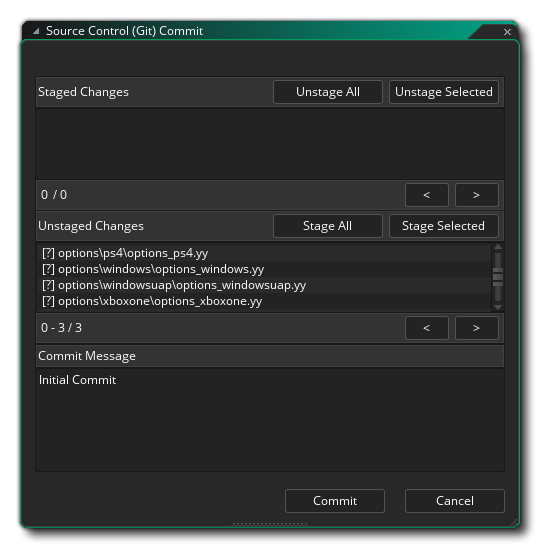
For now, click the Stage All button, as we want to commit all the changes, and type something like "First Commit!" into the Commit Message and click Commit. All our resources should now have a green tick![]() , meaning there's no modifications found.
, meaning there's no modifications found.
It is worth noting that as you work within this window, the various Staged and Unstaged messages will be prefixed by a symbol. The symbol being used will vary depending on the operation and file, with the following being used:
Our work process can now begin, and we can start to build our project and save and commit changes, just as we've done in the paragraphs above.
After working for a while, you may want to check and see what you've committed at any given time, and so for that you'll want to open the Commit History. To open the history window you simply go to Source Control > View History which opens another window with three panes:
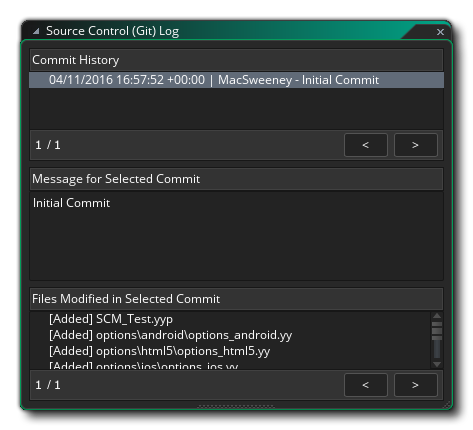 The top pane describes the commits, the middle pane describes the comment given to the selected commit, and the bottom pane describes the files that have been modified in this commit. Note that if you have set up a Diff Tool, then double-clicking on any file in this window will open the diff tool and you'll be able to see the changes between the files.