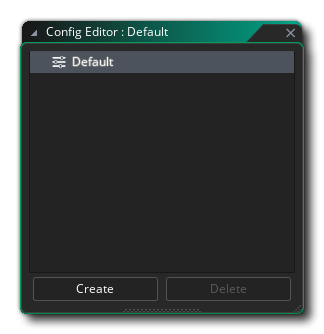
 All games made in GameMaker start with a "Default" configuration, which is listed in the editor when you first open it:
Due to the demands of cross platform development and the need for one product to be available and customised for different clients or devices or platforms, GameMaker includes configurations to make things simpler. Using this system, you can quickly switch between different splash screens, icons and included files and test or export only those that are relevant to the target platform or client at any time, all from the same base code.
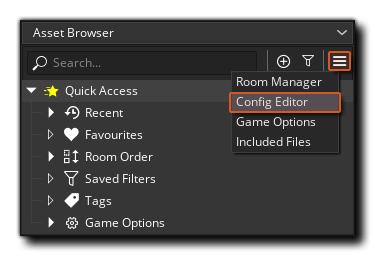
To be able to deal with the different demands from clients and platforms you can use the Configuration Editor which is accessible from the Extras menu on the Asset Browser:
All games made in GameMaker start with a "Default" configuration, which is listed in the editor when you first open it:
 To set up your configurations it is recommended that you first prepare this "Default" config by incorporating all the configurable assets for the project into it. To do this, simply go through the following list of options and set them to what is required by default:
Once you have set up the default configuration, you can then add a new one to the Configuration Editor by right clicking ![]() on the configurations folder and selecting Add Config, or by clicking the "Create" button at the bottom of the window. The new configuration will be shown as a "child" of the default config - all user defined configurations are children of the default - and you can give it an appropriate name.
on the configurations folder and selecting Add Config, or by clicking the "Create" button at the bottom of the window. The new configuration will be shown as a "child" of the default config - all user defined configurations are children of the default - and you can give it an appropriate name.
To edit the config, you must either double click ![]() on it or use the right mouse button
on it or use the right mouse button ![]() menu option "Set Config", which will select the configuration in the editor and once that has been done, you can go ahead and customise it. This is done by simply going through the options listed above and changing them to the desired settings for the newly created configuration. GameMaker will store these values automatically for the config, and you can change between configs at any time by simply using the RMB
menu option "Set Config", which will select the configuration in the editor and once that has been done, you can go ahead and customise it. This is done by simply going through the options listed above and changing them to the desired settings for the newly created configuration. GameMaker will store these values automatically for the config, and you can change between configs at any time by simply using the RMB ![]() menu option or double clicking
menu option or double clicking ![]() .
.
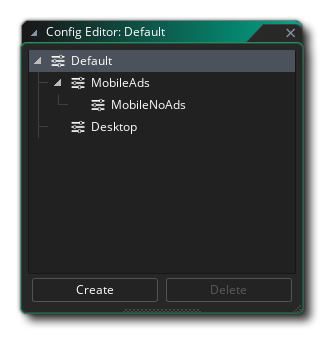
Further configurations can be added as either children of the default configuration, or children of the user defined configurations that you've created, depending on which configuration has been highlighted in the editor when you created it. In the example image below, you can see we have three custom configs defined, two of which are children of the default config, and another that is the child of a user defined config:
 A child configuration will inherit values for Macros that are set for its parent configuration (whichever closest parent has a macro override assigned). See: Configuration Override
You can use any given configuration with any given target platform when compiling or testing your projects. This is done by selecting the config you require from within the Config section of the Target Manager:
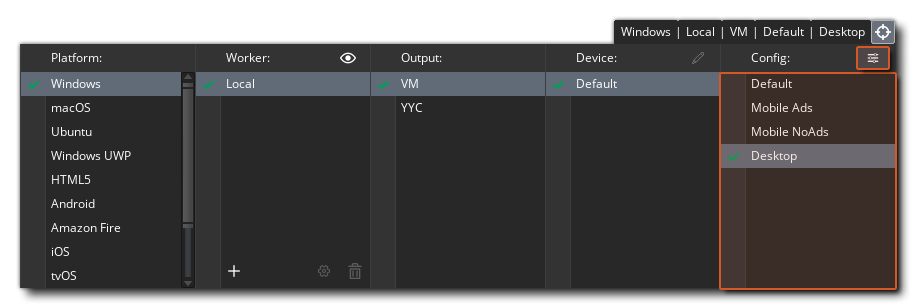 You can also open the Configuration Editor at any time from the Target Manager by clicking the menu button at the top right (as highlighted in the image above).
Once you have set a configuration to be used in this way, any time you compile to a target, either for testing or to create a final asset package, the chosen configuration will be used. For more information on the Targets Window, please see the section on Compiling.