The Inspector window shows all the properties associated with the selected elements in the IDE.
You can select one or multiple elements in any editor, and view or change its various properties:
By default, an Inspector window appears on the left side of the IDE.
You can open more Inspector windows from The Windows Menu at the top of the GameMaker window:
 After opening an Inspector window, you can dock it anywhere in the IDE, or use it as a floating window:

The Inspector allows you to view and edit assets without having to rely solely on Workspaces.
For example, you may usually edit your event code in fullscreen, and frequently navigate back into a Workspace to edit that object's properties.
With the Inspector, you can view an object's details while remaining in fullscreen view:
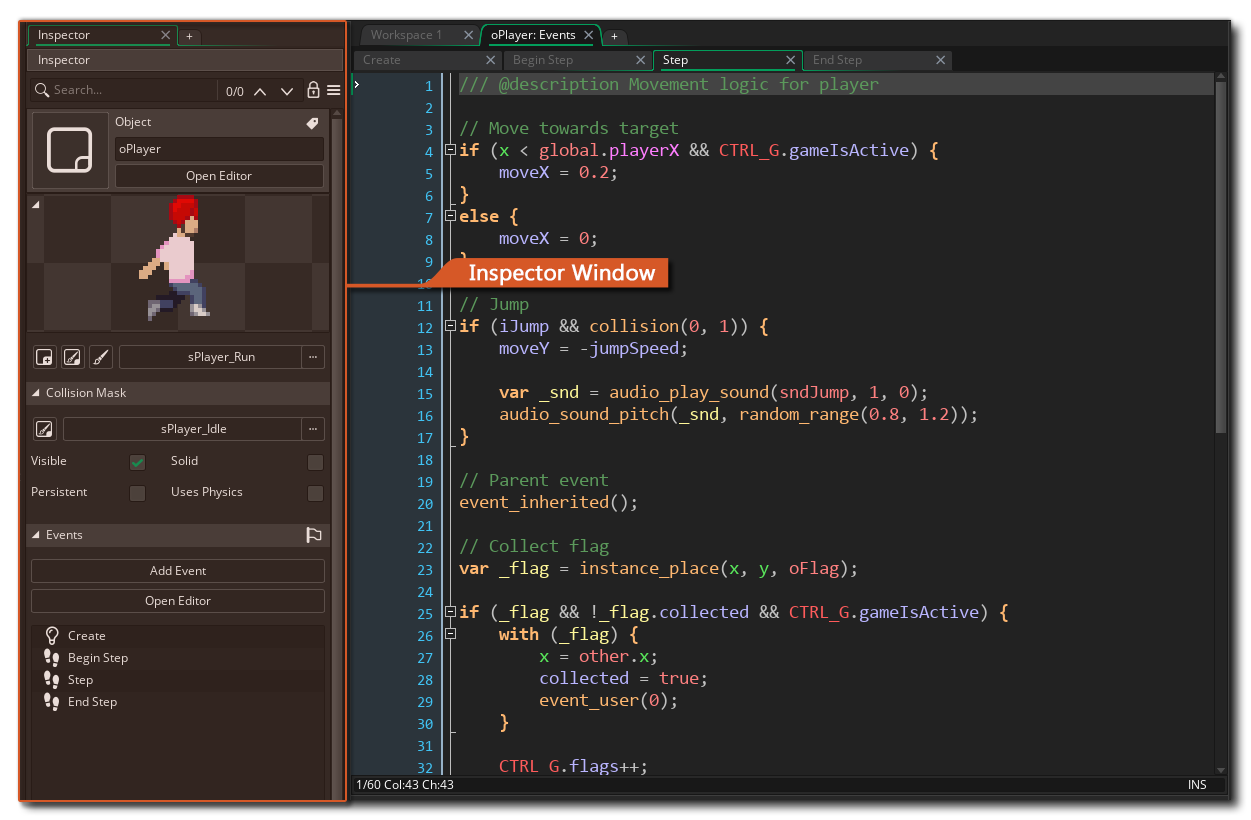 This makes it possible to modify an object's properties and delete/change events while editing its code in fullscreen, and also set up Parenting, Variable Definitions, and more.
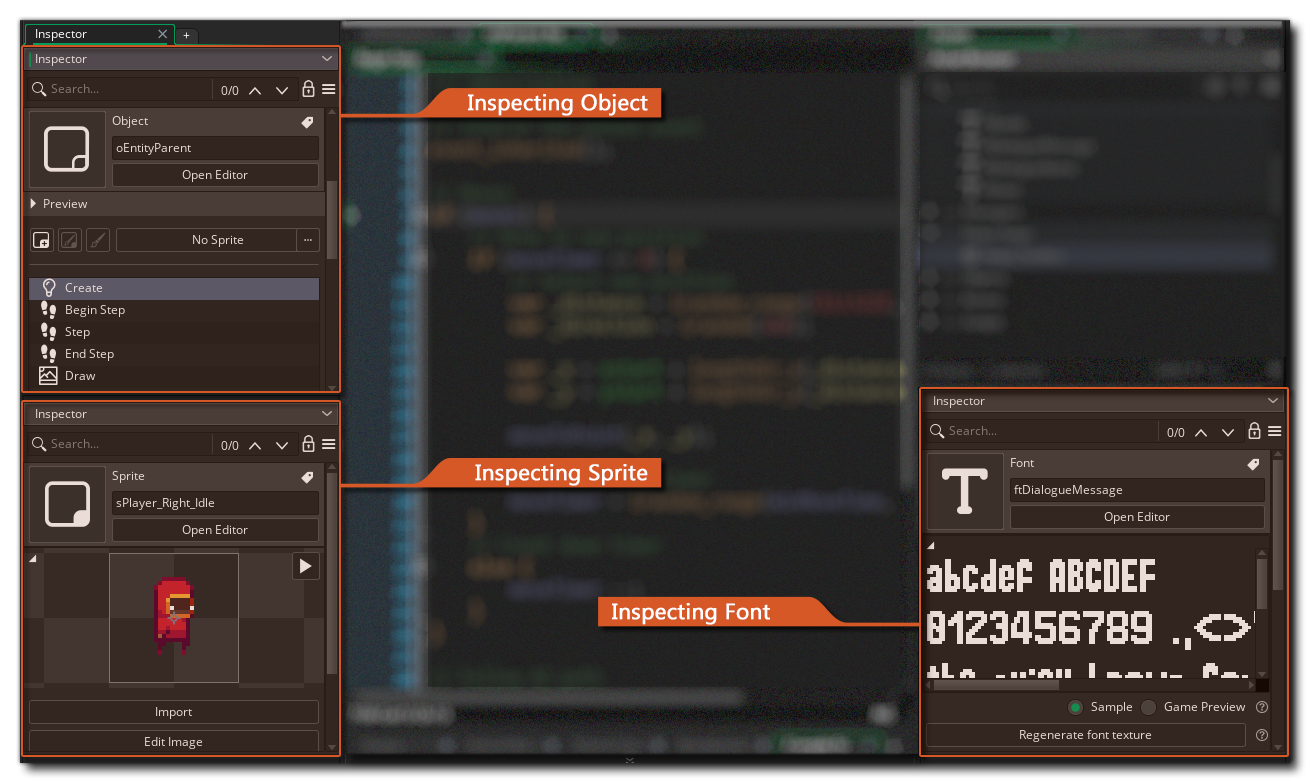
While this particular example only covers objects, the Inspector can do much more and allow you to edit many different kinds of assets (e.g. Sprites, Fonts, Animation Curves, etc.).
In addition to assets, you can also inspect elements in an editor, such as layers in a room, tracks in a Sequence, etc.
The Inspector allows you to apply a filter or effect to a room layer, which you can't do through the Room Editor itself:

NOTE When you apply a filter/effect to a non-FX layer using the Inspector, it will always be applied as a "single layer" effect, i.e. its effect will only be applied on that particular layer and not on other layers below it.
If you have an asset selected, you can click on "Open Editor" in the Inspector to open its asset editor.
For example, doing this with an object will open the Object Editor, where you can modify its properties, add events, etc.
However, when editing anything inside a room, such as an instance or a layer, the Inspector will only focus on editors inside the Room Editor.
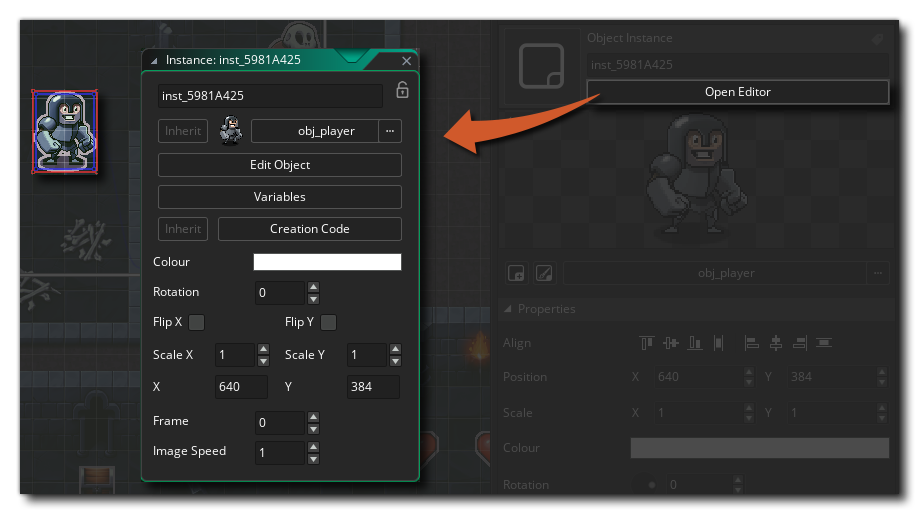
As shown above, selecting an instance in a room and clicking on "Open Editor" in the inspector will open its instance editor.
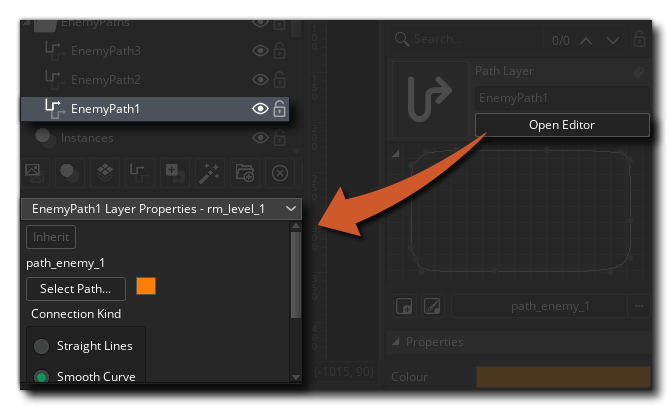
Similarly, selecting a Path layer and clicking "Open Editor" will move focus to the Layers panel where you can edit the layer's properties, instead of opening the Path asset editor.
Finally, when The Inspector shows an Included File, clicking "Open Editor" will execute the action set under Default option for opening included files, in the Paths preferences under External Editors.
The Inspector allows you to view and edit properties for multiple assets and elements (such as room layers and sequence tracks) at the same time.
Select your desired assets or elements by holding CTRL / CMD and clicking with the left mouse button. Your selected items will show in a "multi-select" list in the Inspector:
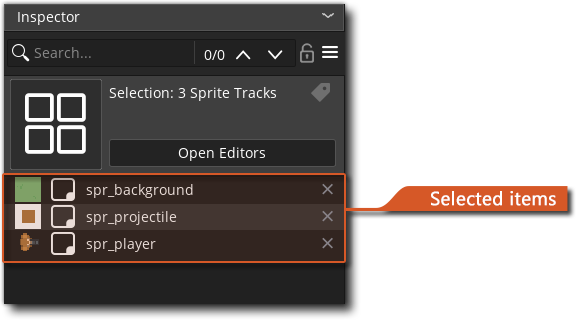
Press the X next to an item to remove it from your selection.
If your selected items share the same value for a property, that shared value will appear in that field.
However if the items have different values for a property, the editor will simply show - in place of that value.
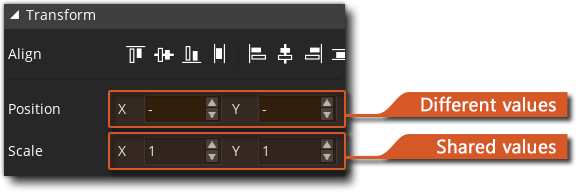
You can change any of these fields. Changing a value will apply it to all of your selected items.
You can select any one item within your multi-select list to view and edit its properties, without having to reset your selection.
Click on the empty area in the list to return to the multi-select view.
Note that you can't select multiple items within this list.
When you have an item selected within the multi-select list, it will appear in the editor with a red outline:
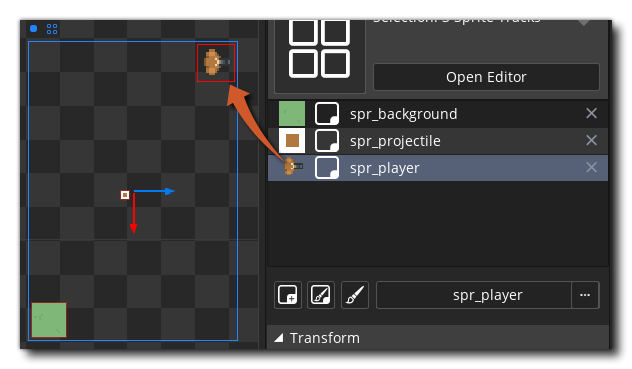
You can change the colour of this outline in the Room Preferences and Sequence Preferences.
You can open multiple Inspector windows at any time, and each one can be linked to a specific element in the IDE.
To ensure that each time you click an element all open inspectors don't change to show the new selection, you must first lock each inspector window one-by-one.
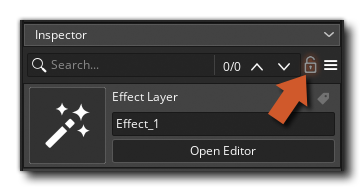
To do this, you would open an inspector, select an IDE element to inspect, and then click the ![]() lock button on the inspector to lock it on the element (shown in the image below). Once you have locked an inspector, you can open another one and then repeat the process.
lock button on the inspector to lock it on the element (shown in the image below). Once you have locked an inspector, you can open another one and then repeat the process.
 Note that a locked inspector window does not lock the editing of any values for the element being inspected. It simply locks the inspector to the selected element and you can continue to edit it at any time, even when the original element is not the main focus of the IDE.
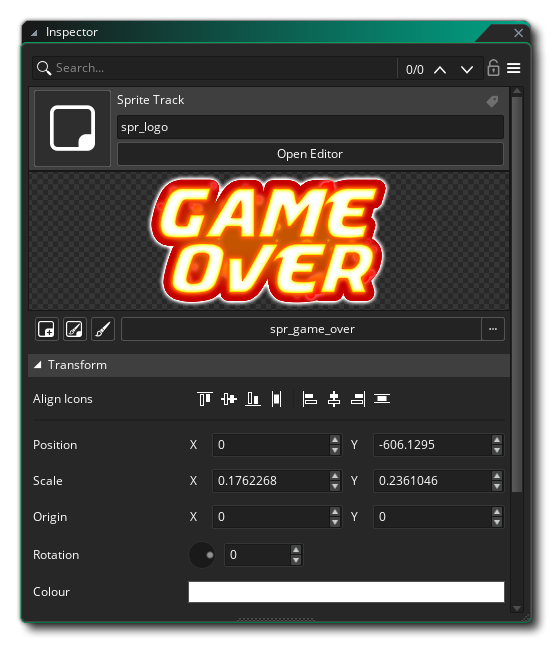
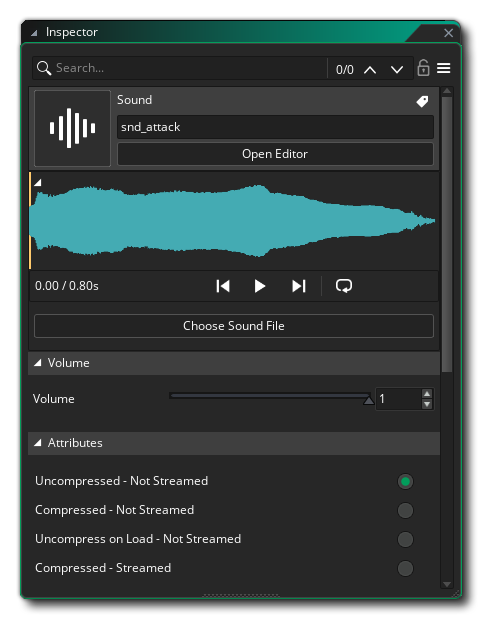
Using the lock feature you can open multiple inspectors at the same time with each one being locked to a specific asset, as shown in the example below: